Bunny Crayons – This DIY is Super Easy!
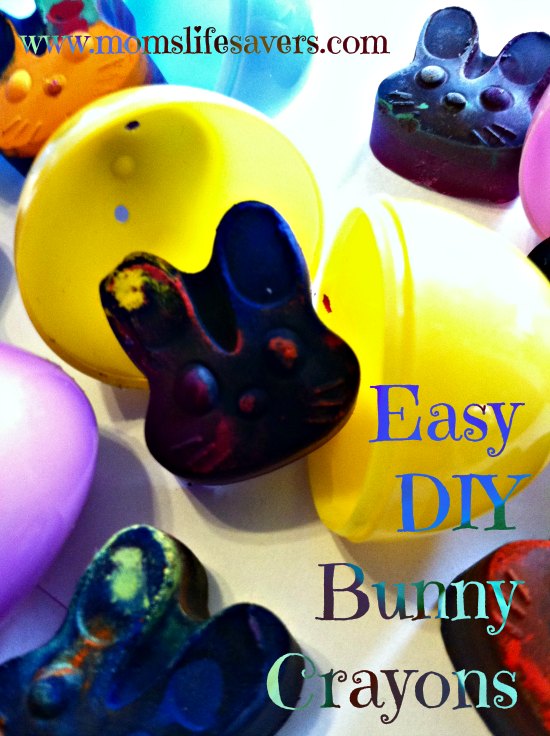
These bunny crayons make a great candy alternative egg filler and are a great way to repurpose those broken crayon pieces.
It seems that when ever it is time to clean out the playroom we end up with a handful of broken, worn out crayons.
What to do with them? We are trying to recycle, reduce and reuse more in our home. Our solution? The kids and I decided to turn our crayon scraps into some fun bunny crayons that we could then put in plastic eggs. Perfect for an egg hunt or an Easter basket filler.
With just a few supplies, this simple craft comes together quickly. The most difficult part of the prep work is actually getting the labels off the crayons.
Bunny Crayon Supplies
- old crayons, labels removed and broken into small pieces
- silicone bunny mold – we found ours at Dollar Tree for (you guessed it) $1
- paper plate
- microwave
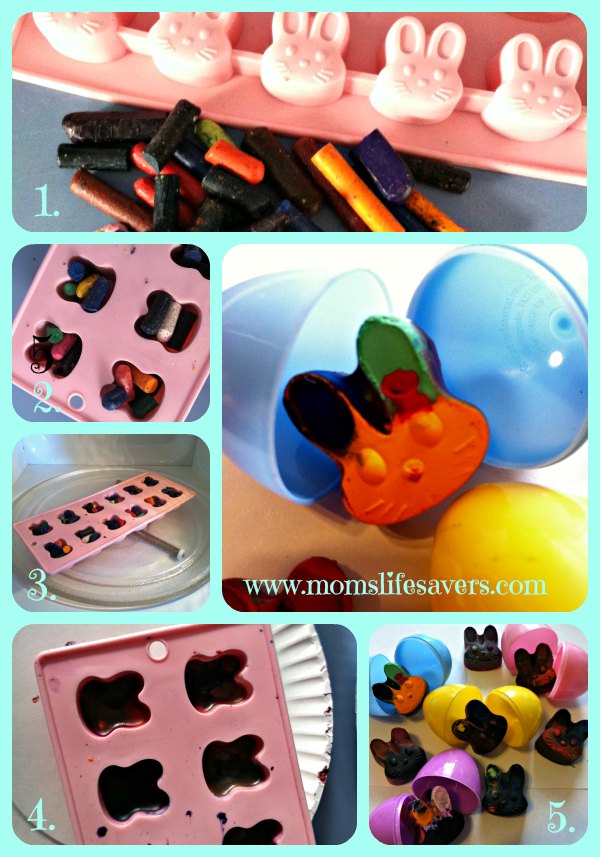
Our DIY Step by Step Photos
Next Steps
- Fill the mold with small pieces of crayon – TIP – We used some shears/scissors to cut the crayons into smaller pieces if we couldn’t break them
- Place the filled mold into your microwave oven (Note: this picture does not show the paper plate under it – it should! Remember to put a paper plate under the mold) Because of the range of power and the variety of microwaves, you will want to keep an eye on your project while the crayons are melting. We melted ours in 1 minute increments on 50% power. IMPORTANT use 50% power of you will melt the silicone mold. In total, it took our crayons 5 minutes at 50% power.
- Allow the mold to cool completely and pop out the bunny crayons from the mold
- Packaging – we packaged our bunny crayons in plastic eggs for gifts
Here are some other great Easter related posts by Mom’s Lifesavers


Leave a Reply