
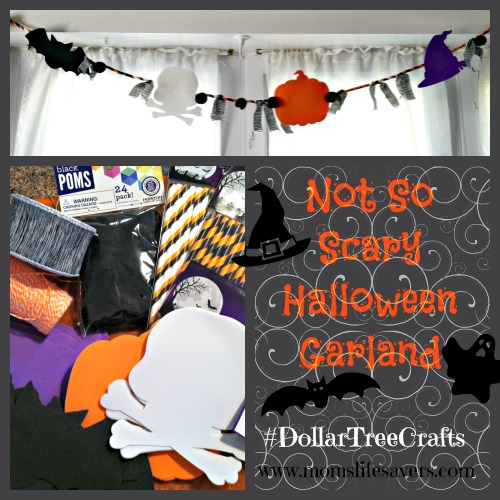
This Not So Scary Halloween Garland How To is fun and easy to make
Halloween Garland How To with Mom’s Lifesavers
Mom’s Lifesavers DIY Halloween Garland is made with supplies you can find at DollarTree. This craft is easy and inexpensive, perfect to make with kids and perfect for Halloween celebrations.
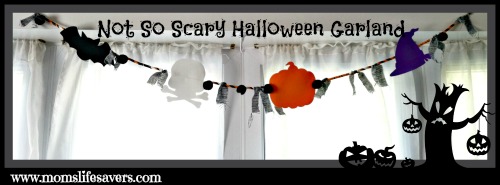
Halloween Garland How To with Mom’s Lifesavers
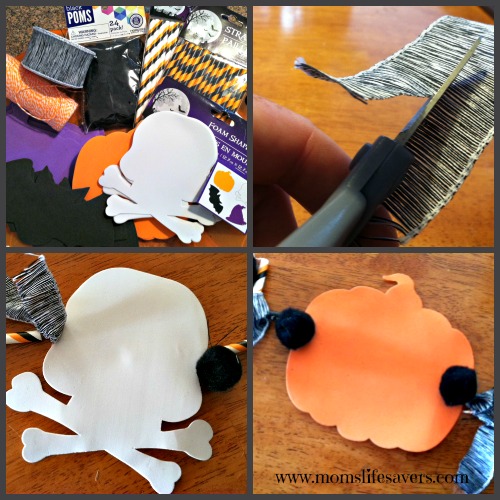
Here is the list of supplies that we used – feel free to substitute and make it your own!
- Paper straws (DollarTree)
- Pre-Cut Halloween foam shapes (DollarTree) Our bag included pumpkin, bat, skull and witch hat cut outs
- Glue Dots (DollarTree)
- String or yarn (We used what we had on hand at home some orange and white bakers twine – it really doesn’t matter though, it won’t be seen
- Ribbon scraps (We purchased a spool of black and white ribbon from the $1 bin at Michaels)
- Pom Poms – totally optional, we tried to use them to give the garland a little more dimension
Halloween Garland How To with Mom’s Lifesavers
Start Stringing!
- Gather your supplies and a clean surface area to work on
- Start by cutting the paper straws into various lengths – we just randomly cut ours into different size pieces – a perfect job for safety scissors and little hands!
- Cut string to desired length – ours was about 4 feet in length
- Tie a small straw piece to the end of the string and start adding straw pieces to the string
- When you are ready to add a foam cut out, apply the cut out to the string using a glue dot – we used approximately 3 glue dots per cutout
- Optional: use a hole punch to place a hole on each side of the cutout and string the yarn or string behind the image and use a gluedot to keep it from ‘spinning’ on the string.
- Adding some Halloween flair – add some pom poms to the garland – we used glue dots, we had to press hard to hold the pom poms in place
- Ribbon – we cut the ribbon lengthwise to give it a frayed edge or as we like to call it ‘character’ and knotted it onto the string

Leave a Reply