Mom's Lifesavers

Come to Mom, she will get the word out.

  • Work With Us
    • Editorial Consideration
    • Brands & Company Partnerships
  • Client Portfolio & Social Media Management
  • Reviews
    • Business Reviews
    • Product Reviews
    • Book Reviews
  • Mompourri
    • Health
    • Household
    • Mommy Musing
    • Money and Savings
    • Parenting
    • Technology
    • Throwback Thursdays
    • Travel
      • Day trips
      • Places
      • Mom’s Night Out
    • DIY
      • Crafts
      • Printables
      • Seasons
    • Recipes
      • Slowcooker
      • Fast and Easy
      • Sweet
    • Parents & Children
      • Gear and Toys
      • Celebrations
      • Infant
      • Toddler
      • School Age
      • Teen
  • About Us
    • Christine Cohen
    • Bonnie Bowes
    • Contact
    • Disclosure Policy

DIY – You Can Make It – Cork Napkin Rings & Trivet

August 7, 2013 By: Bonniecomment

Cork Napkin Rings & Trivet

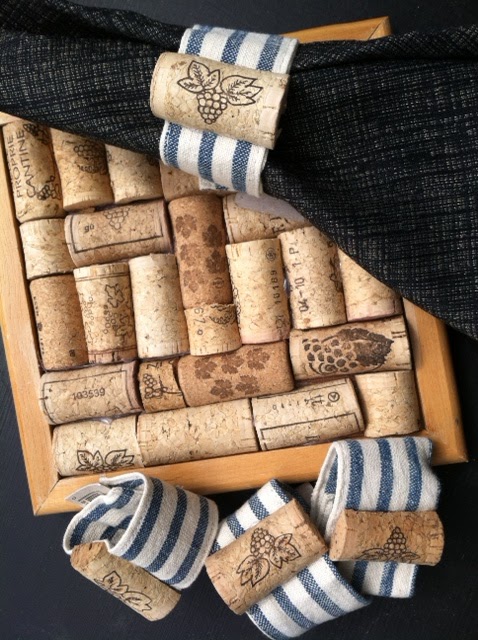
An old tile trivet frame that I found at a thrift store for $1 and some fabric napkin rings from a discount store (4 for $1) – add the magic of some cut corks and whala!

Here is what you need:

* Corks – the more the better – I had the luxury of getting a whole box of them from my aunt who had been saving them for a long time. (Thank you Aunt Ruth!)
* Glue Gun
* Utility Knife (larger blade works best)
* Cutting Surface (I used a kitchen cutting board)
* Water in a Container
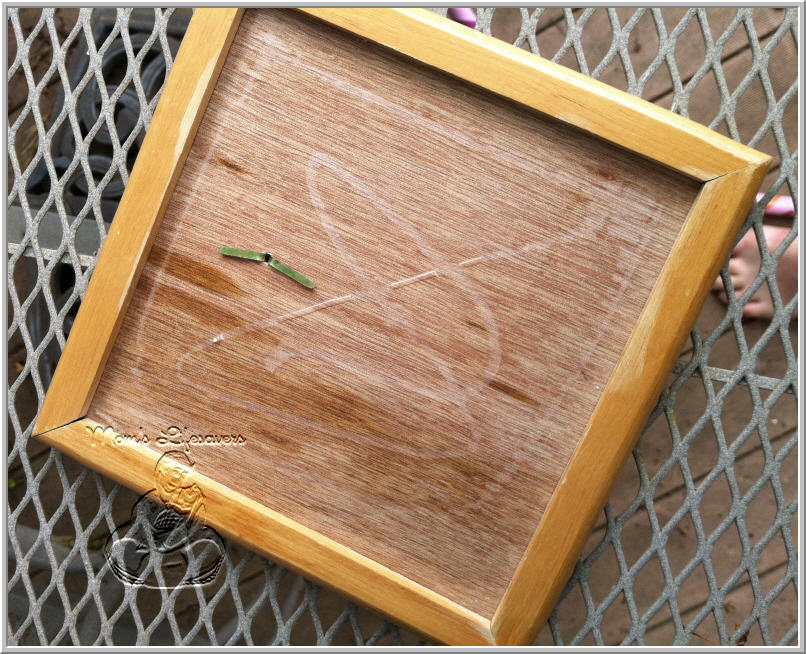
* A Wooden Frame (I used a framed tile – took the tile off)
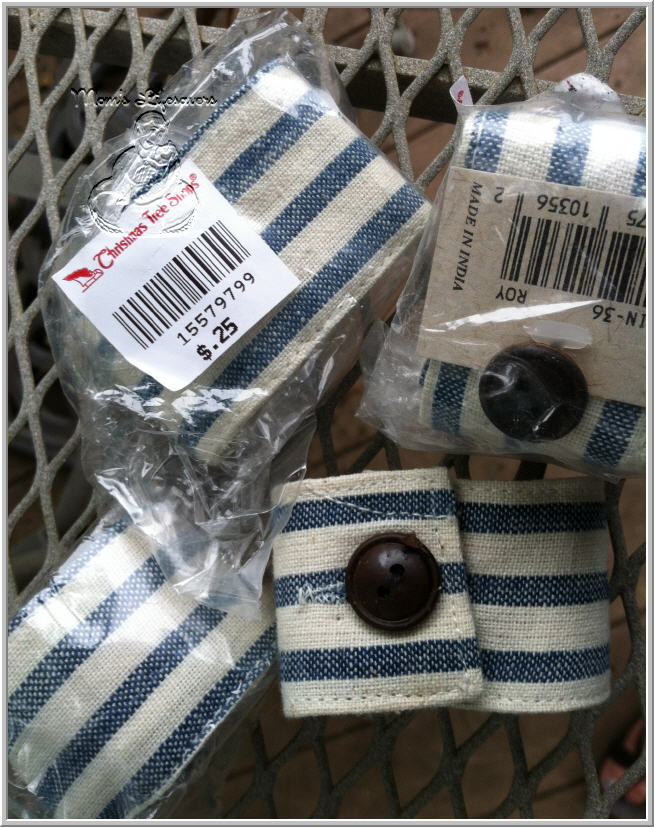
* Fabric Rings (I found some inexpensive ones at Christmas Tree Shops)

TIP – The only real prep work is to SOAK the Corks – the longer the better – overnight works best. If you try to cut dry corks they will fall apart and crack – not to mention it is more dangerous to cut them dry. Here is a short video on how to cut the corks: How To Cut Corks

Soak Corks Overnight

 Here are the raw frame and napkin holders:

After cutting a dozen or so corks my daughter started laying them out onto the wooden frame – this was the fun part – putting it together like a puzzle.

TIP – Feel comfortable to cut the corks into smaller pieces – if you ‘sprinkle’ the smaller pieces throughout it won’t look like you ran out of room – more like you ‘designed it that way’! You can see the smaller pieces in ours.

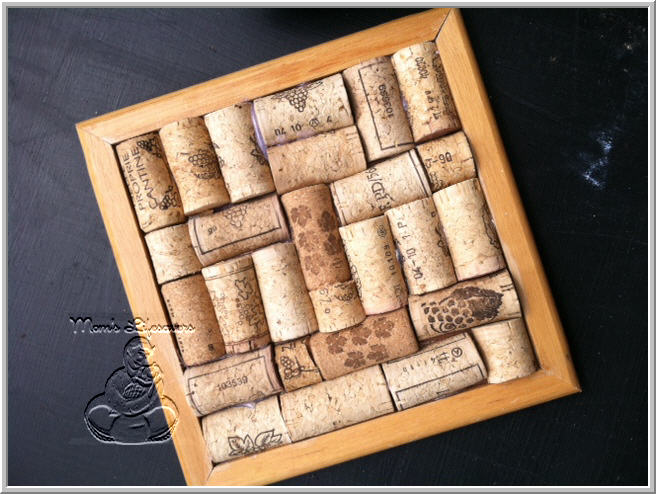
Once we had the general layout we used a hot glue gun to finish the assembly. The glue held very well to the cork and the wooden base.

Next we searched through the remaining cut corks and found 4 that were of the same style and simply glued one to each napkin ring.

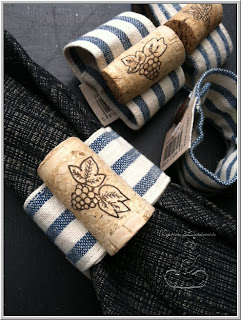
TIP – These came together very quickly with a little prep work – my 7 year old enjoyed laying out the corks for the trivet! It was great to watch her thinking it through – we also used a low temp glue gun so she could glue them in place.

Leave a Reply Cancel reply

Your email address will not be published. Required fields are marked *

Follow Us:

  • Email
  • Facebook
  • Google+
  • Instagram
  • LinkedIn
  • Pinterest
  • RSS
  • Twitter
  • YouTube
Moms Lifesavers

Christine Cohen & Bonnie Bowes
Principals of the
Mom's Lifesavers Network

Red Sox Parents 2017

#RedSoxMoms

#RedSoxMoms

Rockport Travel Page

Rockport Travel Page

Rockport Community Page

PBS Crafts for Kids

PBS Crafts for Kids

Party Posts Featuring

Oriental Trading Company

Proud Partner

Blog Post List

#RedSoxMoms

Mom's Lifesavers

Featured Bloggers on Boston Moms

Boston Moms

Copyright © 2025 · Moms Life Savers By, Pretty Darn Cute Design