Summer DIY – Permanent Sandcastles

Summer DIY – Permanent Sandcastles
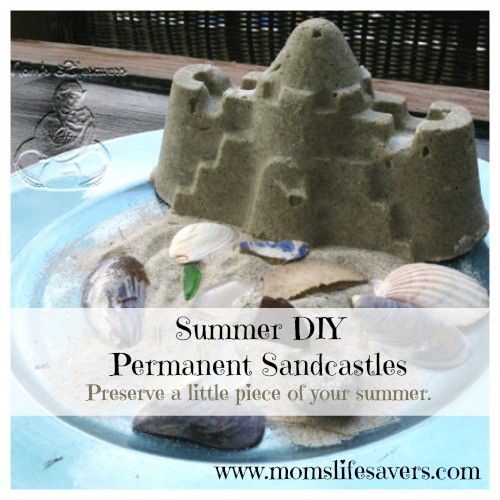
Preserve a little piece of your summer with our Summer DIY – Permanent Sandcastles.
Perfect for displaying your summer collections! With just a little sand, some castle molds and creativity, you can create the perfect sandcastle to display all your summer treasures.
This summer DIY – Permanent Sandcastles recipe, for forever sand (that we found on Kaboose.com) was put to the test in our very own kitchen.
Summer DIY – Permanent Snadcastles Recipe
- 3 cups of sand
- 1 1/2 cups of water
- 1 1/2 cups of cornstarch
- cooking pot – bigger is better – lots of stirring
- non-stick cooking spray
- newspaper or old cardboard – we used a collapsed box
- sand castle molds

Summer DIY – Permanent Sandcastles
We used 9 cups of sand for our Summer DIY – Permanent Sandcaasltes in our ‘test kitchen’ and it filled 3 small castle molds. Here is what we did:
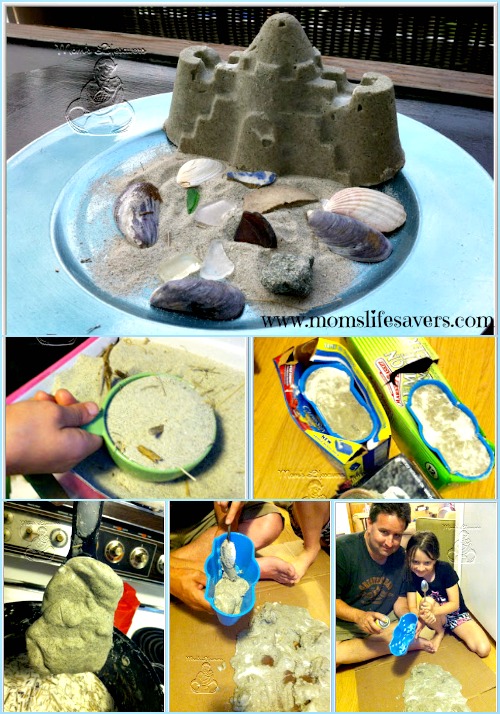
- Measure out the sand – a perfect job for little hands
- Measure out the cornstarch and mix both together in the cooking pot
- Now turn the stove top to low and start stirring. We found that we had to increase the temperature a bit – probably because we used 3x the amount.
- Stir constantly! Once the sand is sticking to your spoon or spatula it is ready to come off the heat.
- We poured our hot sand mix onto cardboard to cool.
- TIP – this would be a perfect time to move the whole craft OUTSIDE! We had a thunderstorm pop up on us so we were inside.
- Let the mixture cool to the touch – but not harden. Spray your castle mold with non-stick cooking spray and start filling.
- Time to let it dry. We placed our filled molds in some old drink boxes we took out of our recycling bin and let them dry overnight.
- The next step was the most fun – unveiling our castles the next morning – they literally popped right out of the molds.
- Final touches – We added a plate charger and some of our extra sand along with a few of our treasures to display.
We took a short video of our Summer DIY – Permanent Sandcastles being ‘unmolded’ check it out on our YouTube Channel here:Homemade Sandcastles – Perfect for Beach Memories


Leave a Reply